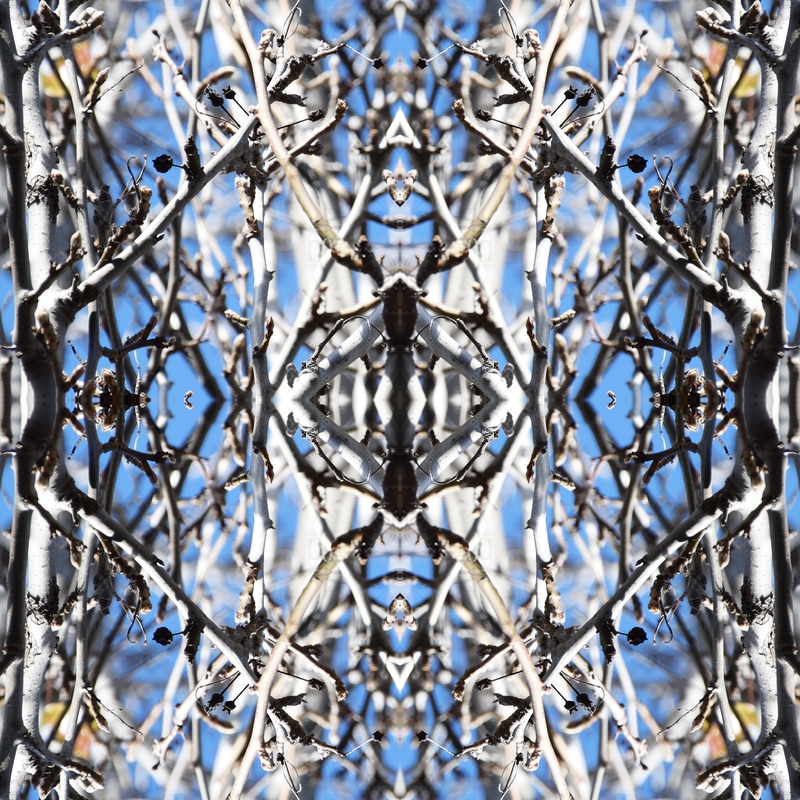
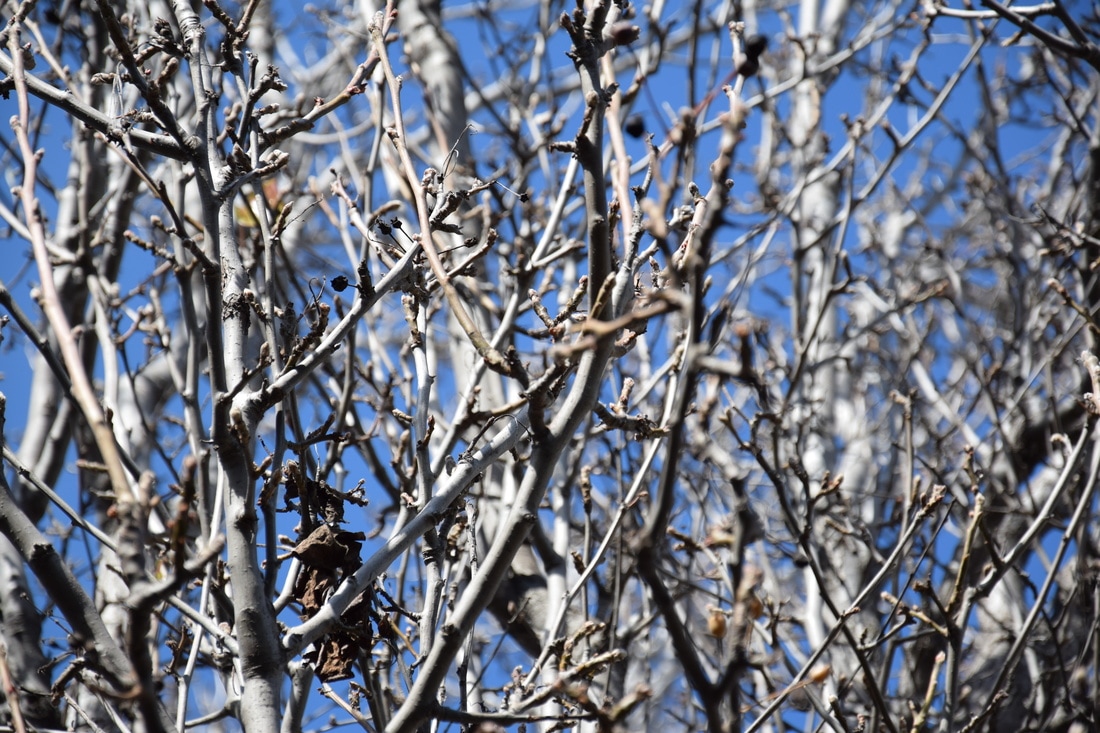
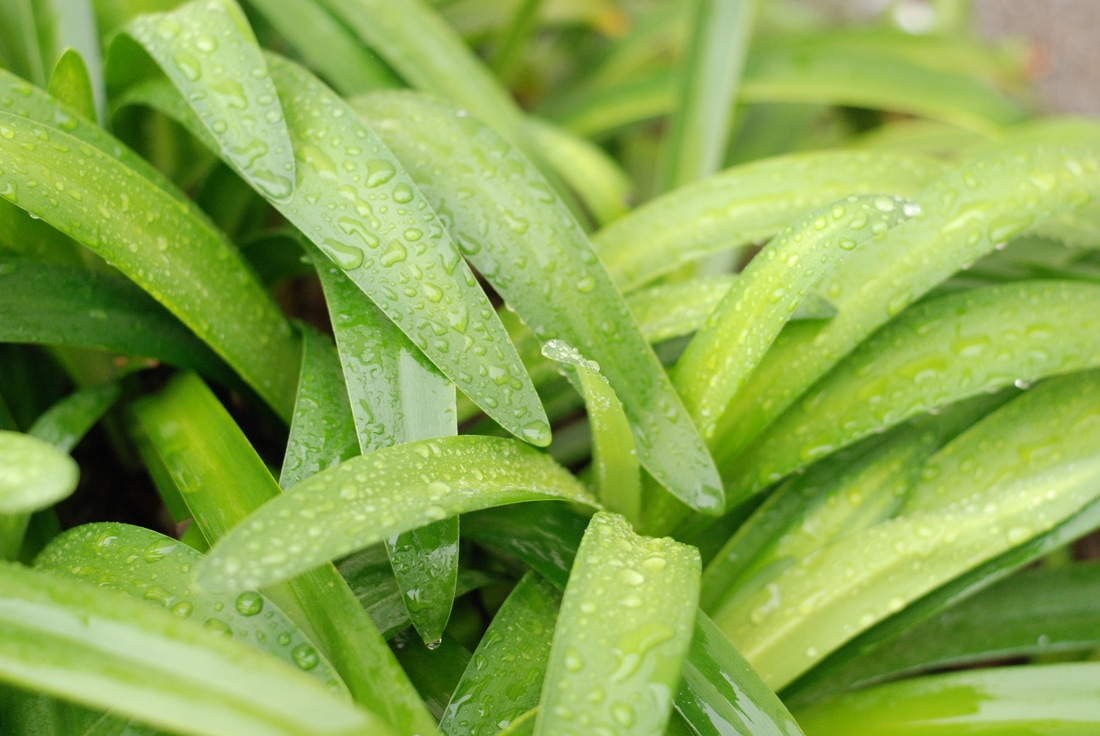
  ISO: 200, Aperture: f/5.6, Shutter Speed: 1/350 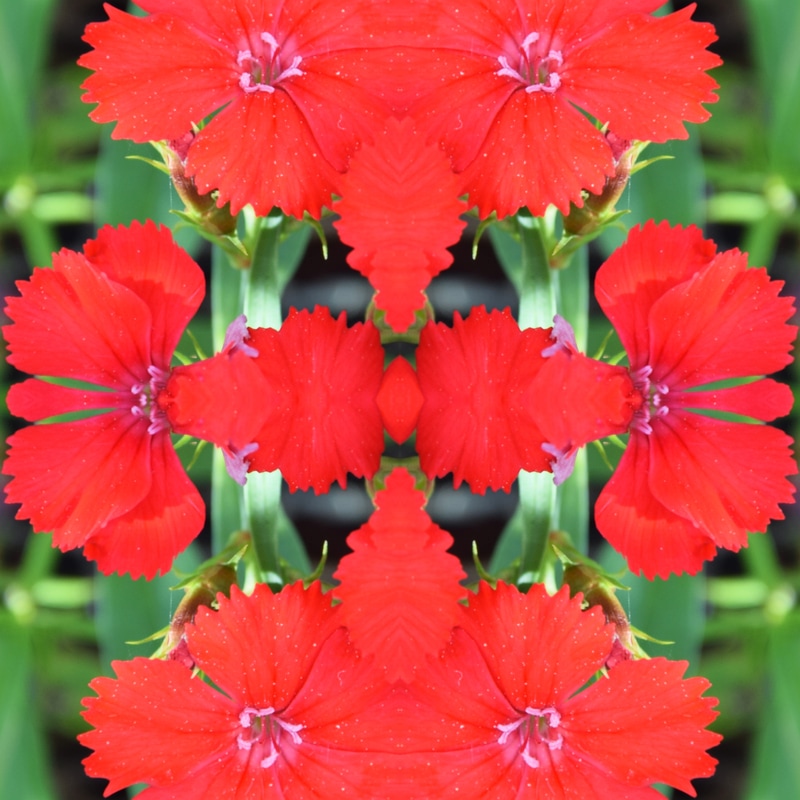 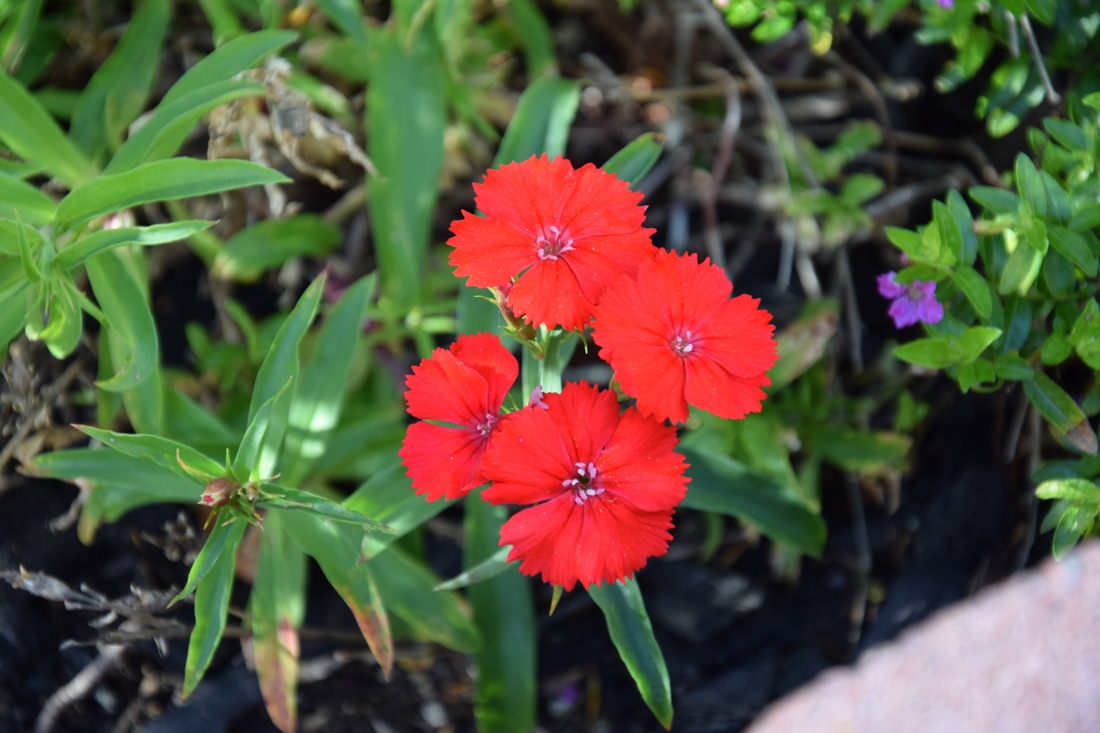 ISO: 200, Aperture: f/5.6, Shutter Speed: 1/45 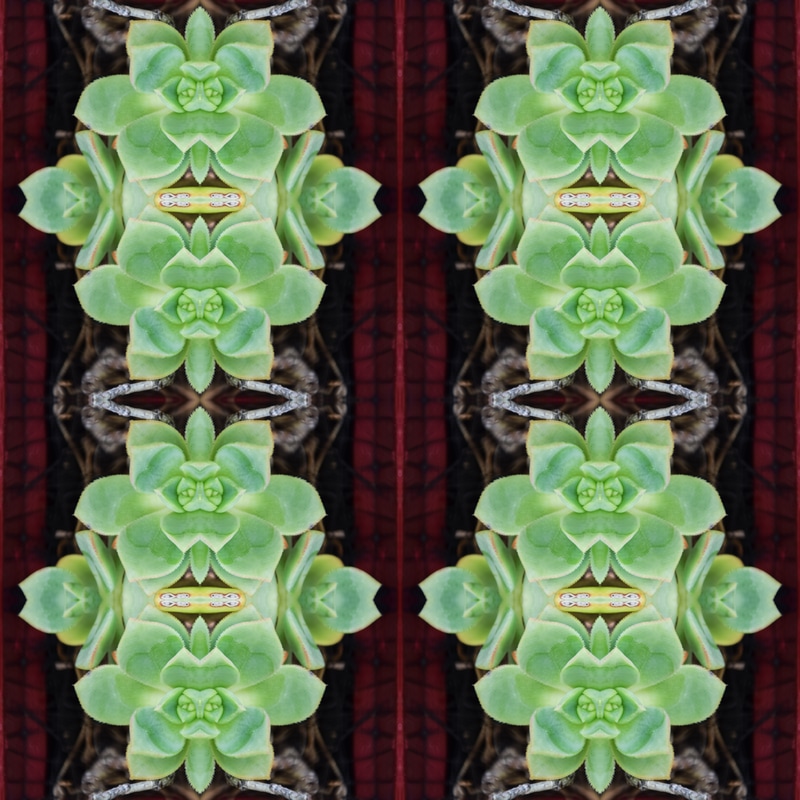 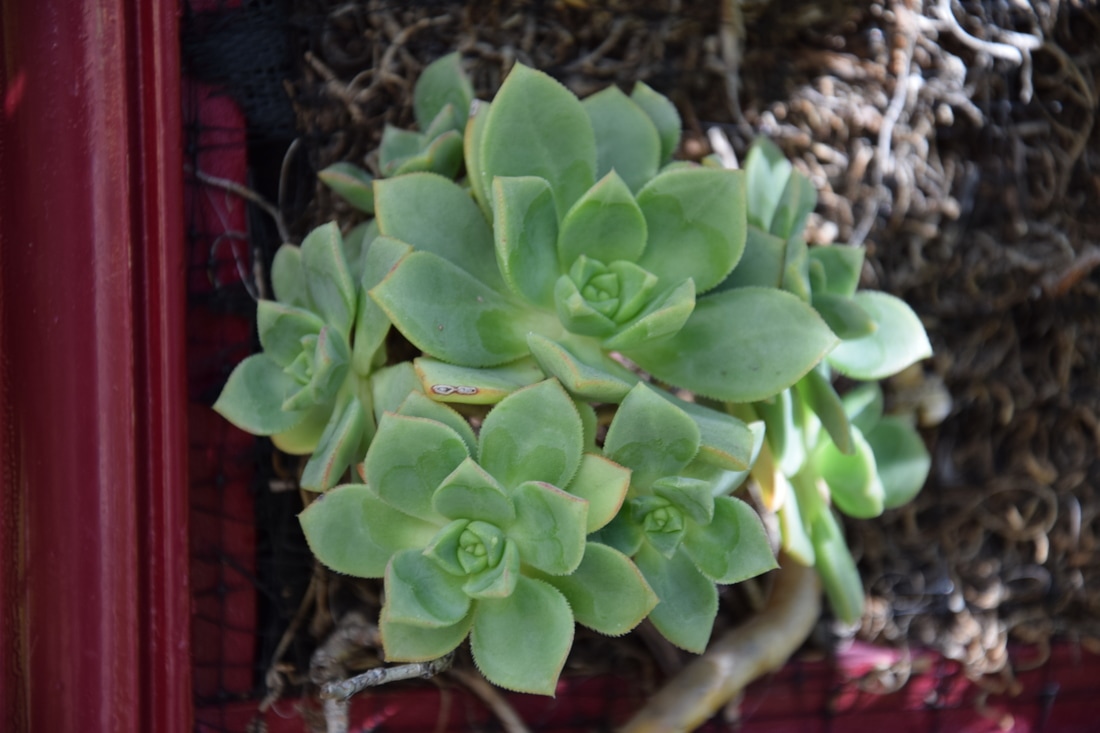 ISO: 200, Aperture: f/5.6, Shutter Speed: 1/125 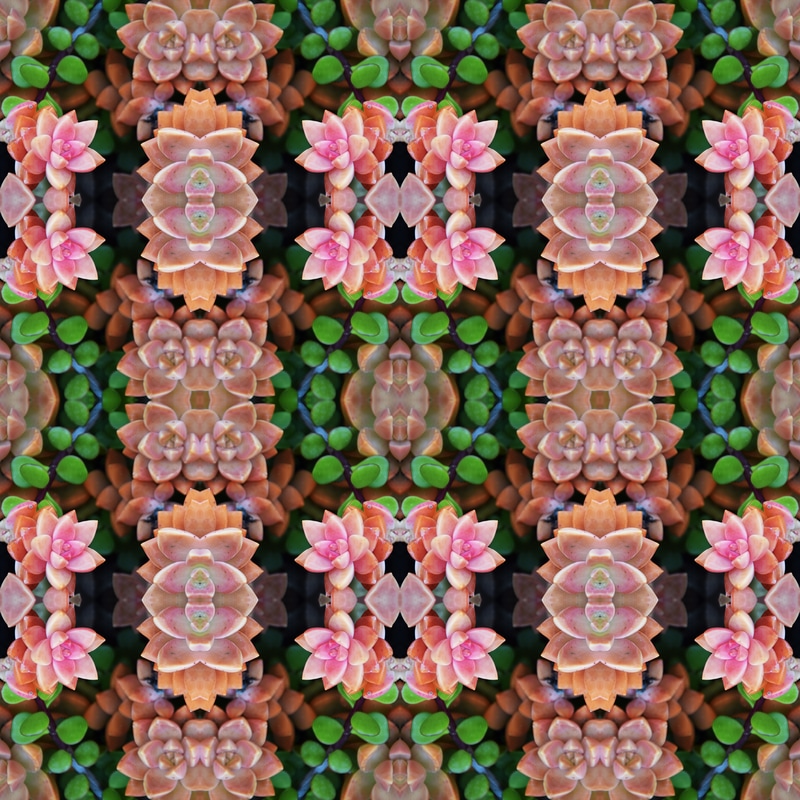 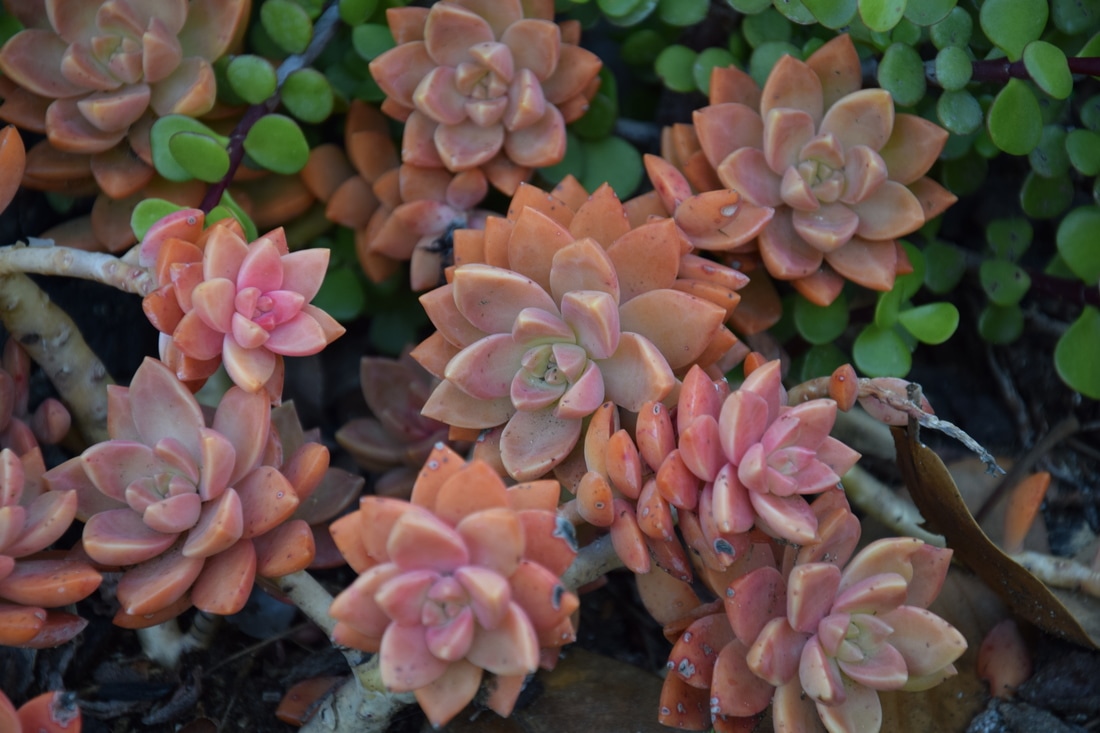 ISO: 200, Aperture: f/5.6, Shutter Speed: 1/90  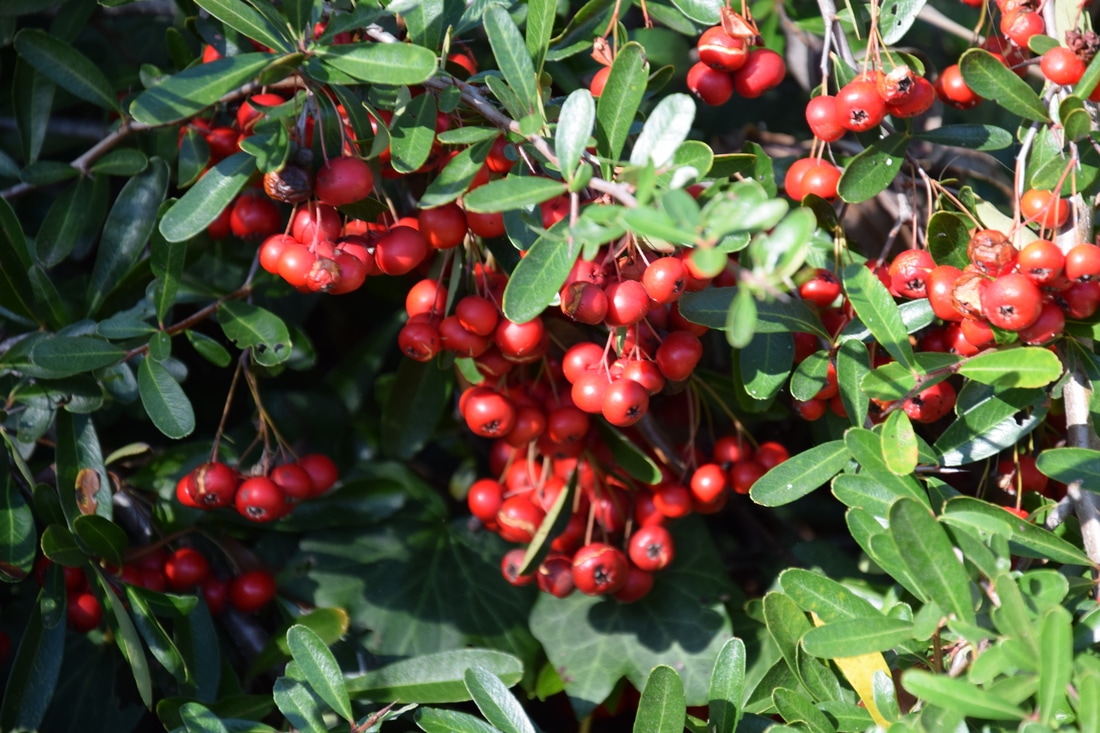 ISO: 200, Aperture: f/5.6, Shutter Speed: 1/125  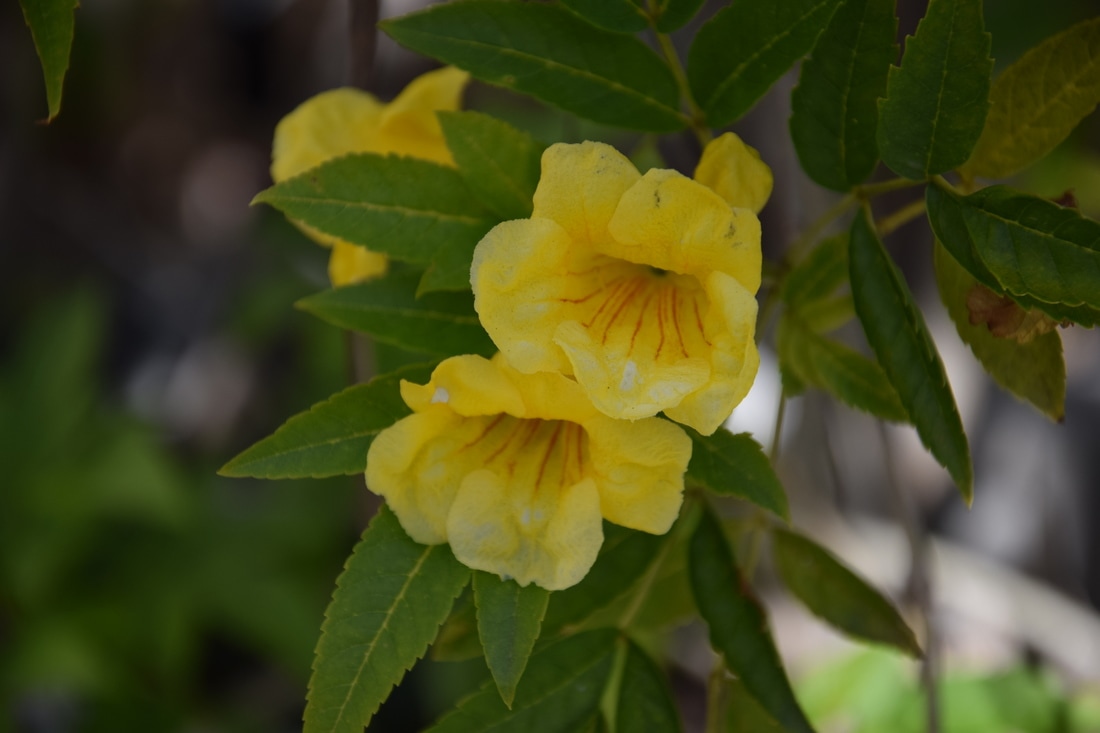 ISO: 200, Aperture: f/5.6, Shutter Speed: 1/500 A tesselation is a photograph made up of a single photograph rotated around and cropped. To create a tessellation you begin by making a grid/layout. Next you open your photo and crop it to a specific section of the photo you want to use. Then you resize the photo and put it in the first box of your grid. After that you duplicate the photo and move it into the next box and rotate it horizontal or vertical depending on where you place the photo. After that once you've finished filling all the boxes, you merge all the layers and edit your photo to your liking. Then save your photo and your done. I really liked this project and the results looked really good. My favorite tessellation is the 4th image of the pinkish succulents. I struggled with finding a good section of each image to use for my tessellations. If I had i=to do it differently I would find more colorful and unique photos to begin with.
0 Comments
Retouched 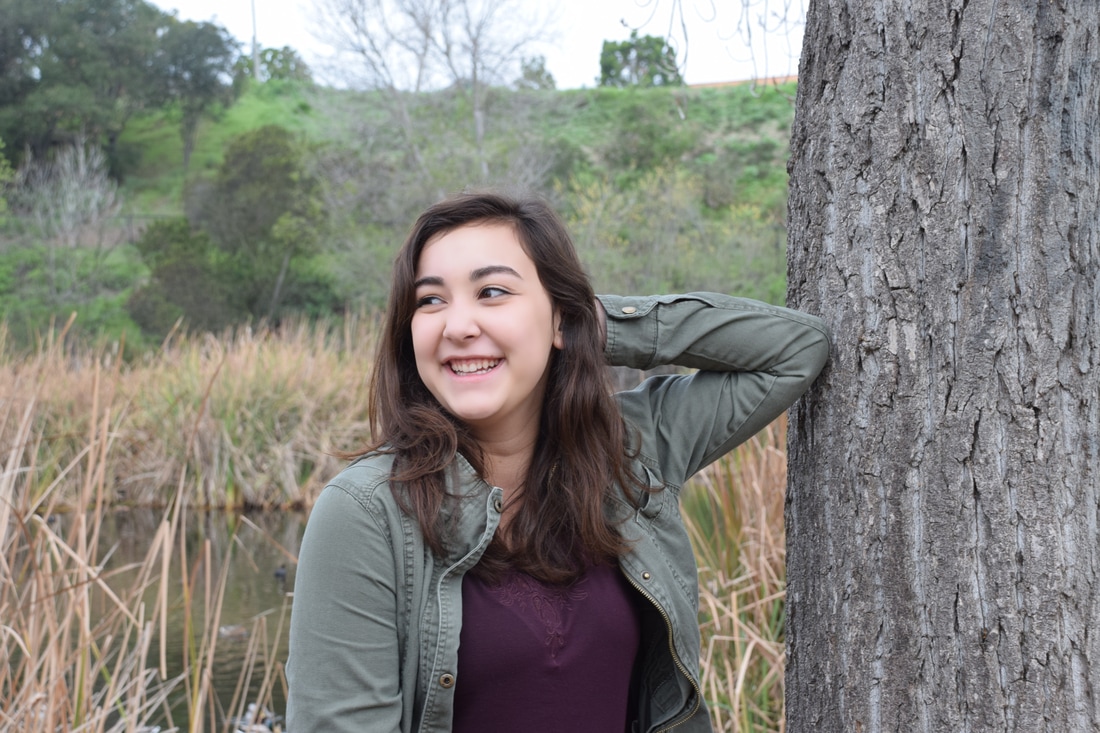 ISO: 400, Aperture: f/8, Shutter Speed: 1/90 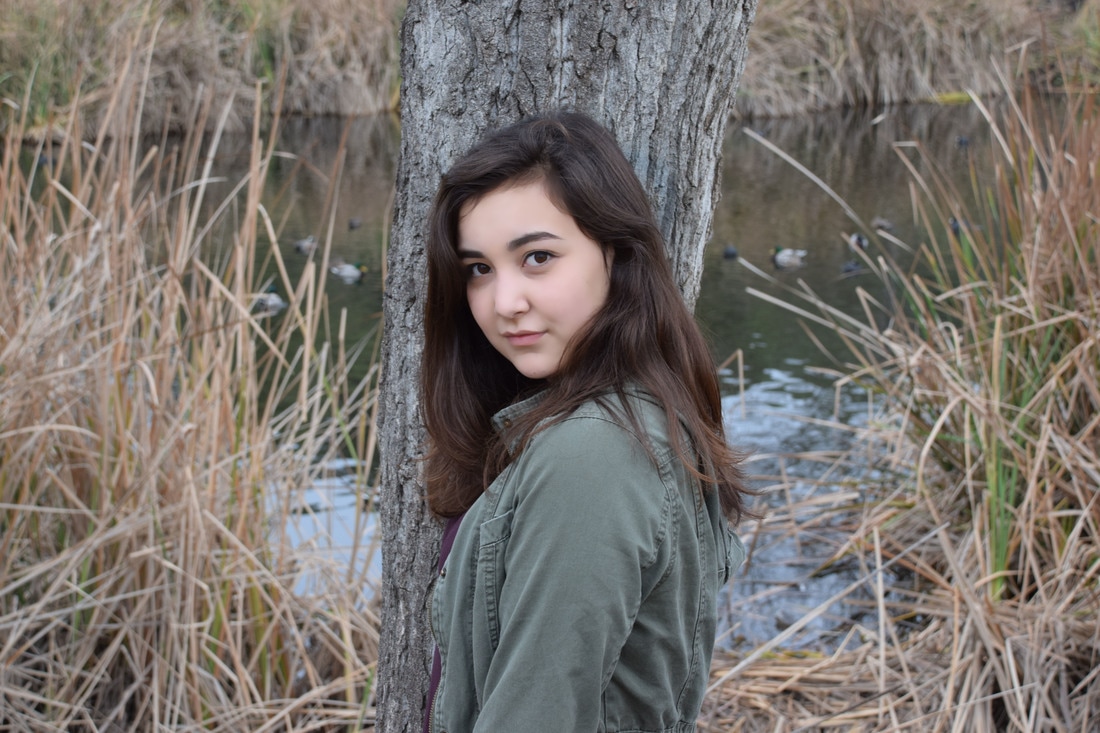 ISO: 400, Aperture: f/8, Shutter Speed: 1/125 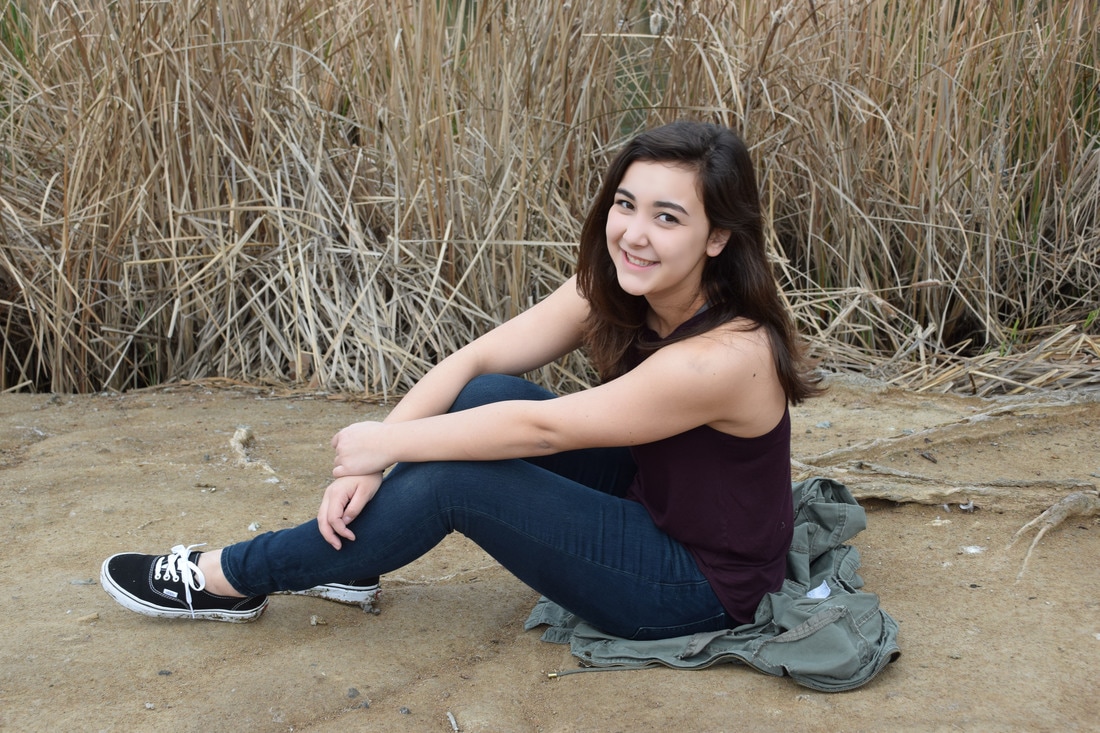 ISO: 400, Aperture: f/8, Shutter Speed: 1/180 Untouched 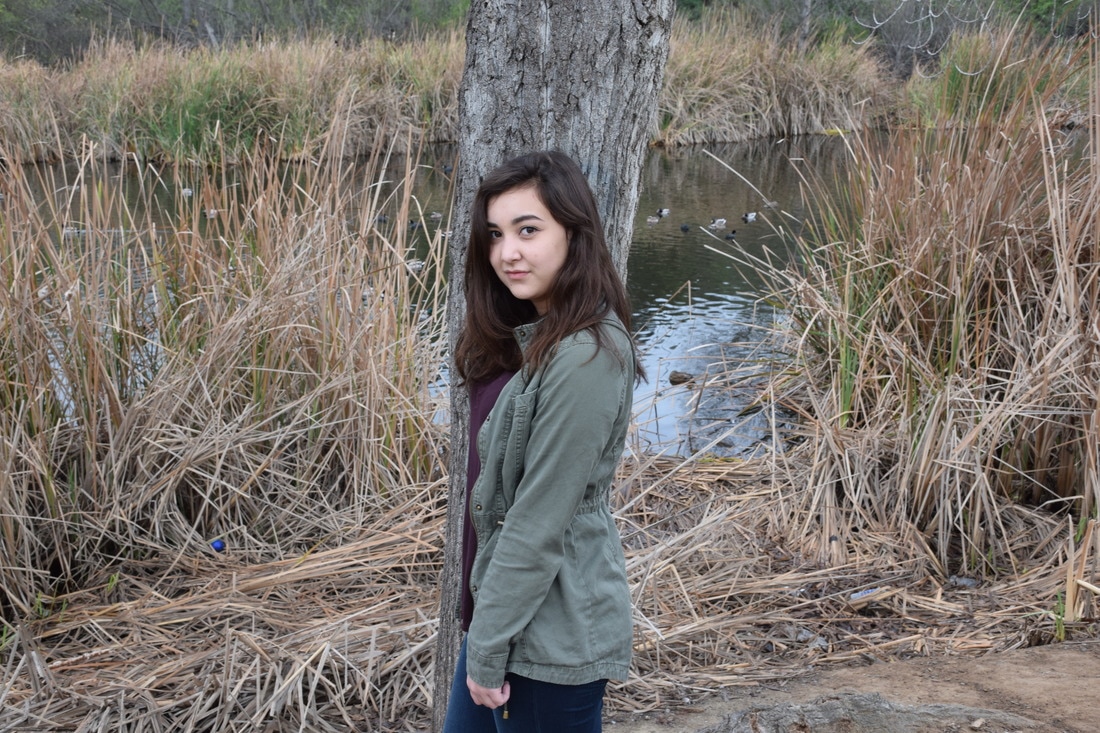 ISO: 400, Aperture: f/8, Shutter Speed: 1/125  ISO: 400, Aperture: f/8, Shutter Speed: 1/180 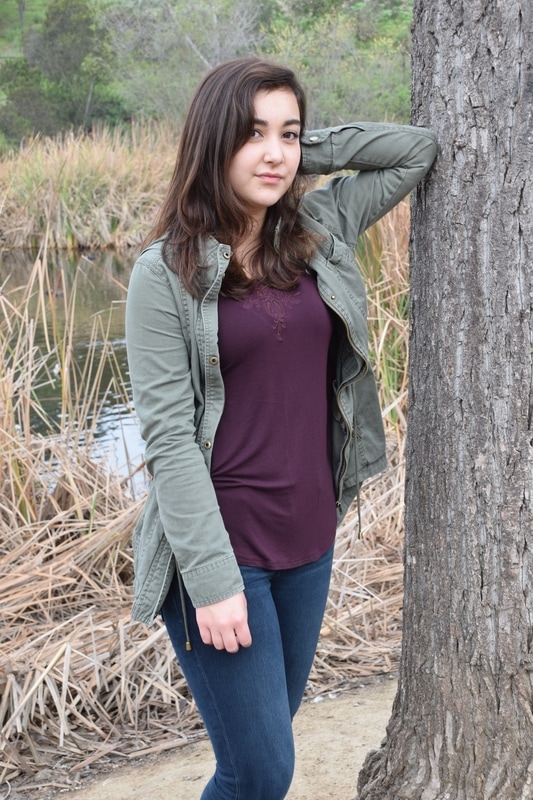 IS0: 400, Aperture: f/8, Shutter Speed: 1/90 After going to the duck pond I learned the different angles to get the best lighting. We used a paper with pose ideas on it to help decide some poses to do which was pretty helpful in giving us pose ideas. We didn't use the reflector on any of these photos, but we attempted to use it of our other partners photos and it was sort of difficult to use because it was sort of gloomy and dark outside. To retouch the photographs I followed the steps of the video. First I outlined the face and blurred it. Then I blurred out all the baby hairs and the skin. After that I got rid of any blemishes or marks and evened out the skin and that was it. One job that uses portrait photography is a wedding photographer. Wedding photographers are hired by wedding planners of the bride and groom. The average salary of a wedding photography is around $203,00 and the average charge for taking someones portraits is around $252.
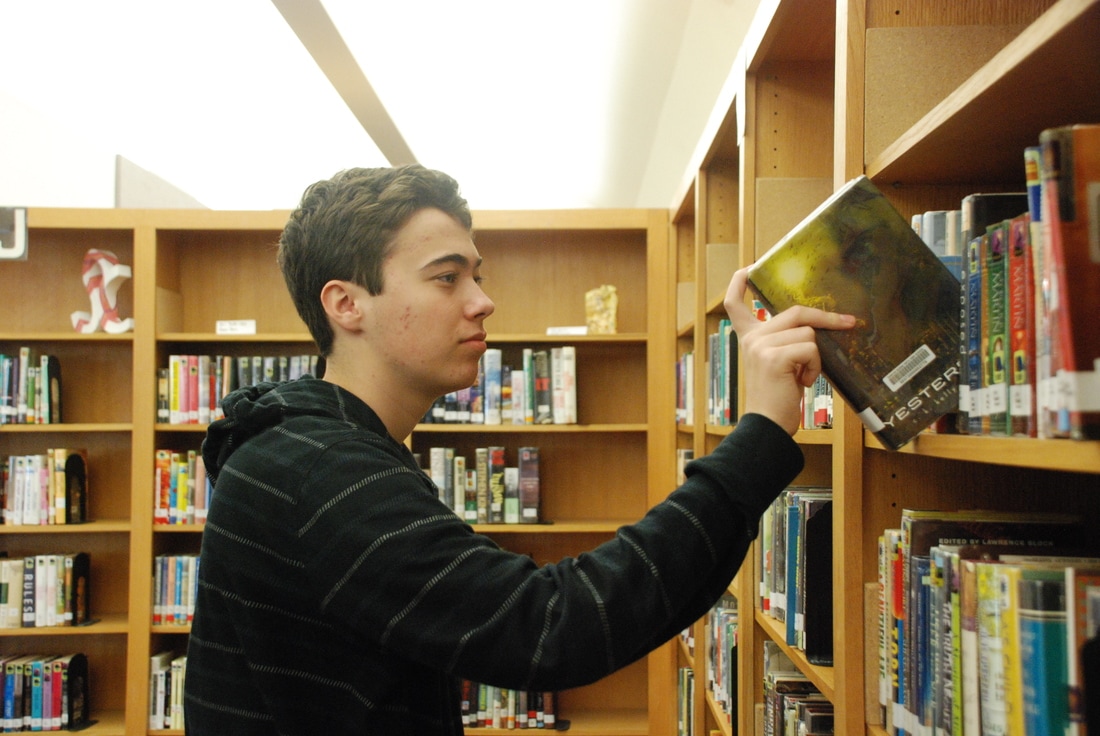 Everyday day you are learning new things and expanding on your education whether that be from a book, a teacher, or even from your everyday experiences. Learning overall allows you to expand on your life and teaches you to be more understanding of certain things. This photograph shows a boy taking a book off a bookshelf. The book represents opportunities for education and learning experiences and the boy is standing in a library full of books, "new opportunities". If you stop for a moment and look around, you'll realize that you are learning new things everyday and the world is full of so many opportunities.
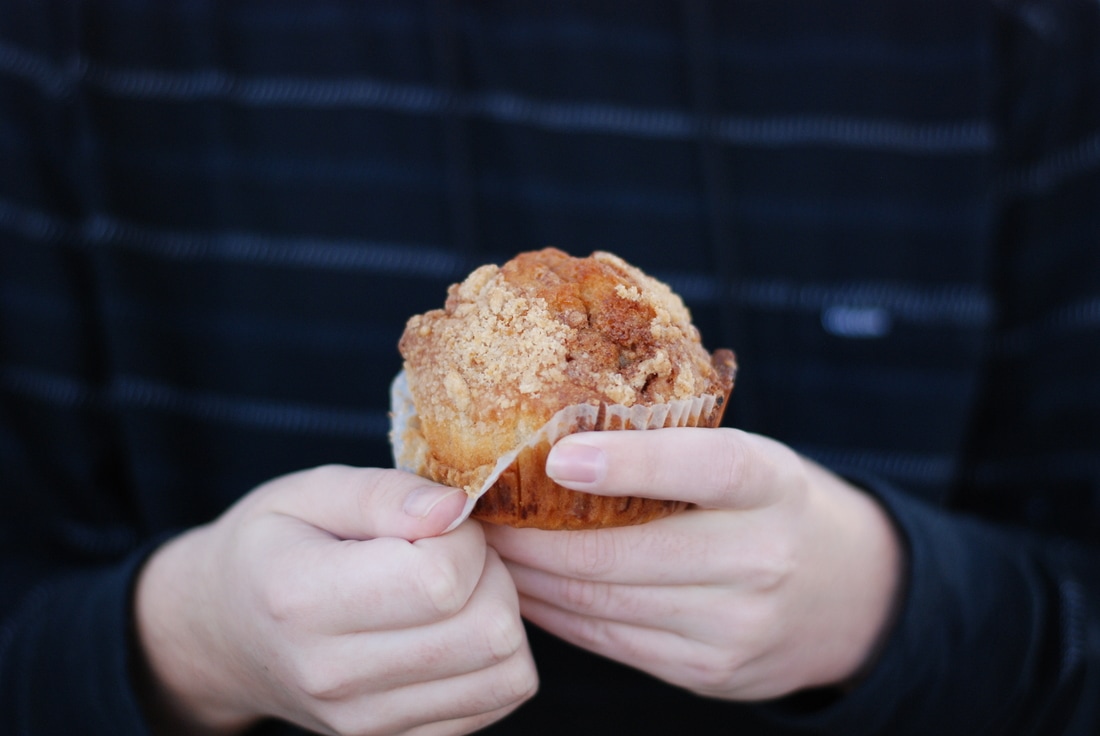 ISO: 400, Aperture: f/1.8, Aperture: 1/1,000 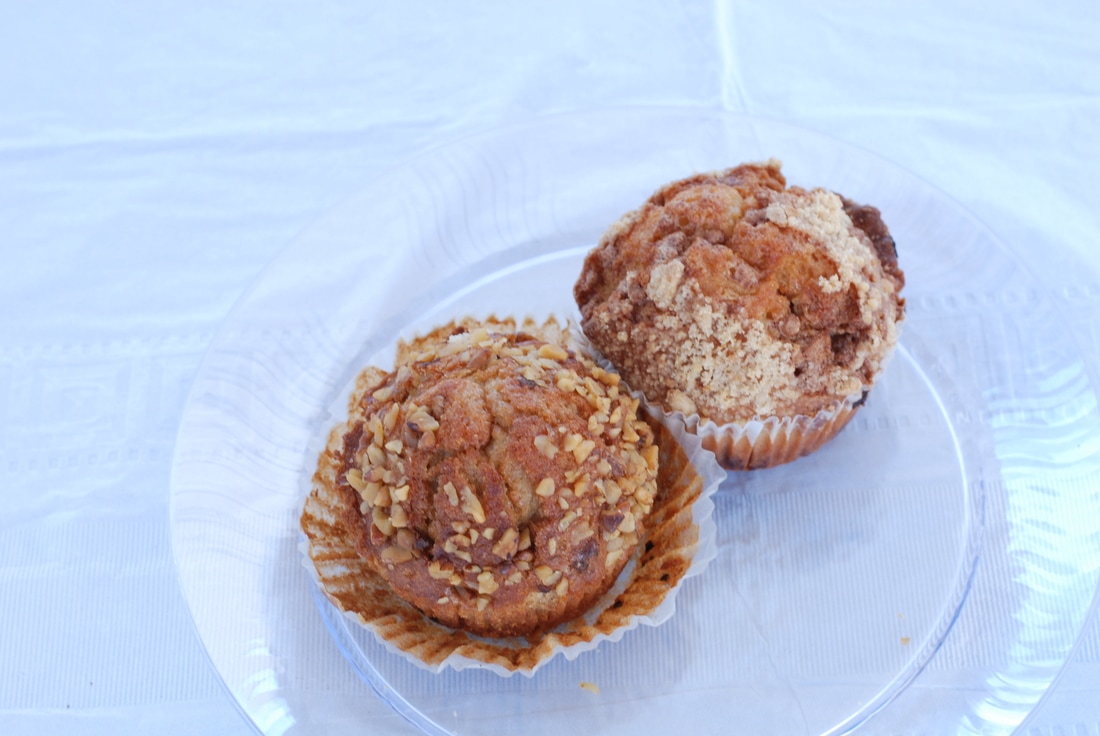 ISO: 400, Shutter Speed: f/8, Aperture: 1/60 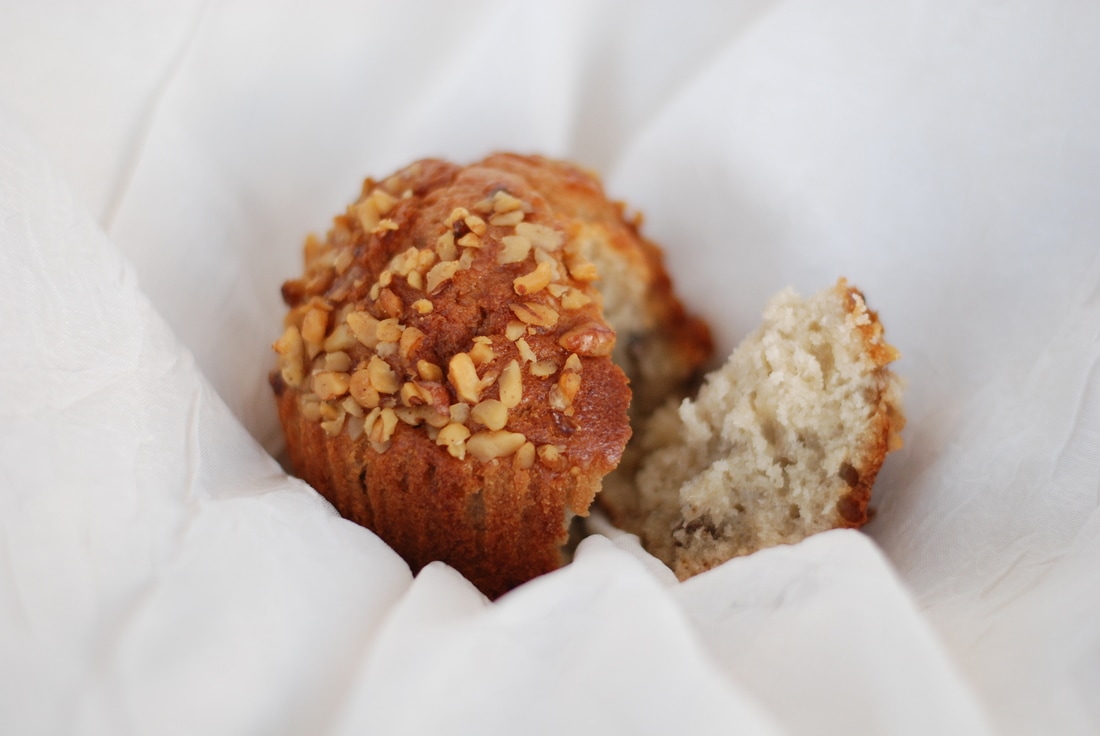 ISO: 400, Shutter Speed: f/1.8, Aperture: 1/1,000 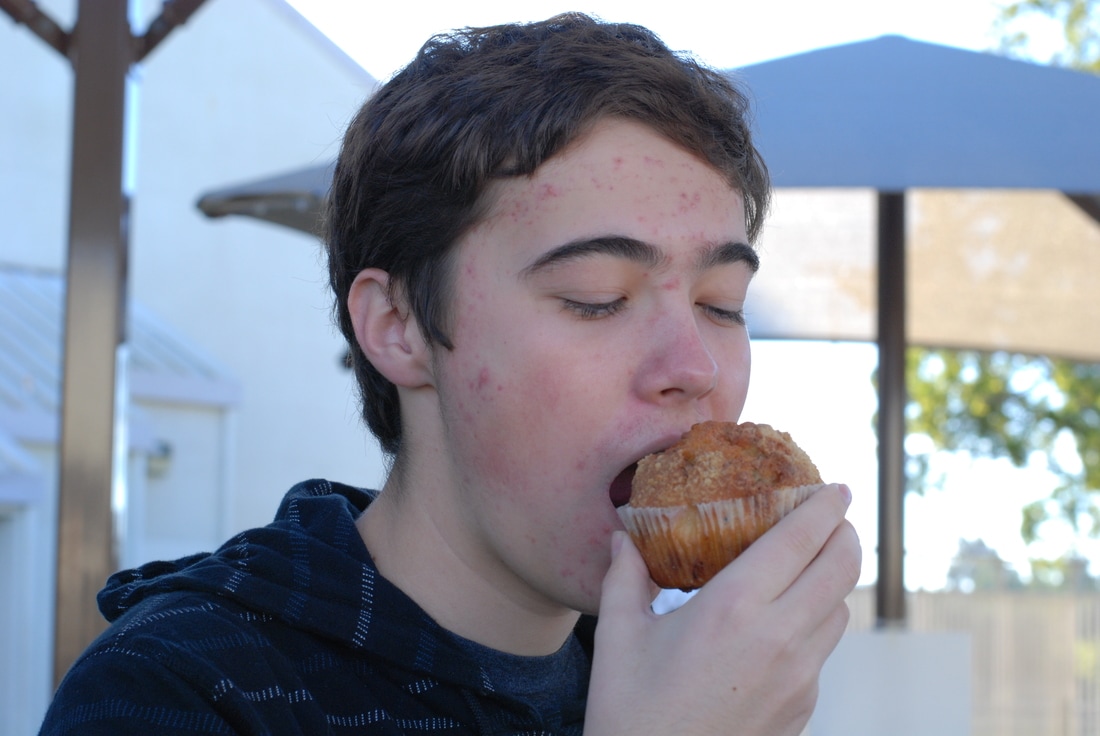 ISO: 400, Shutter Speed: f/8, Aperture: 1/125 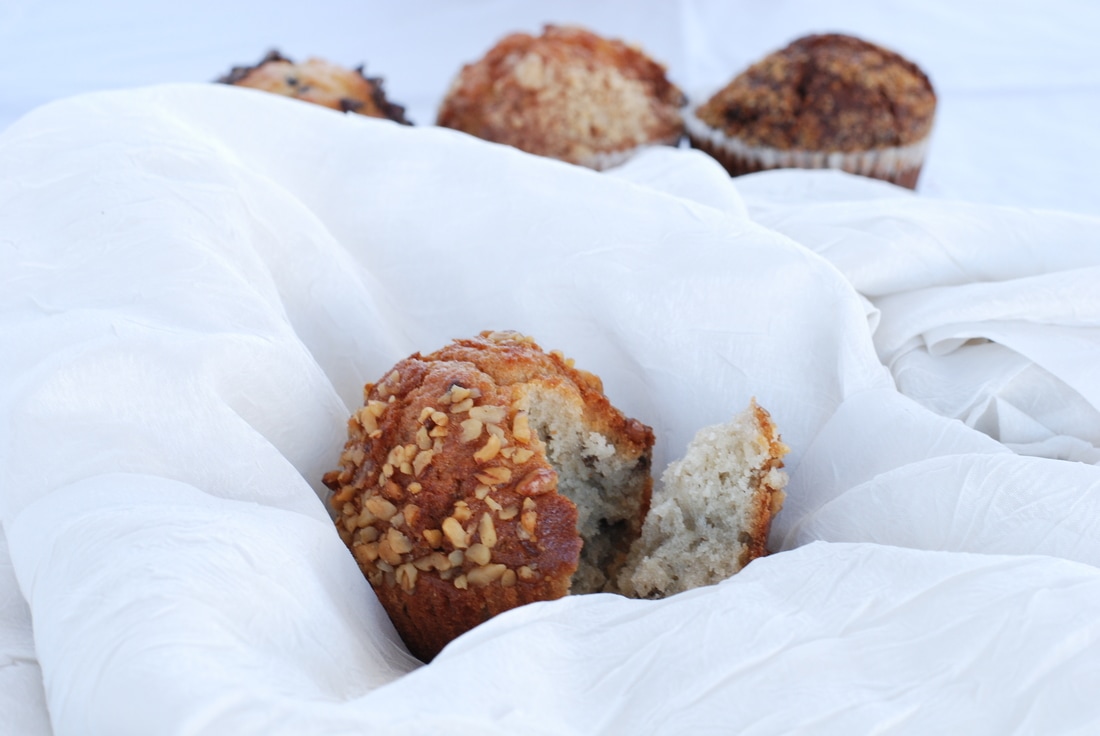 ISO: 400, Shutter Speed: f/8, Aperture: 1/60 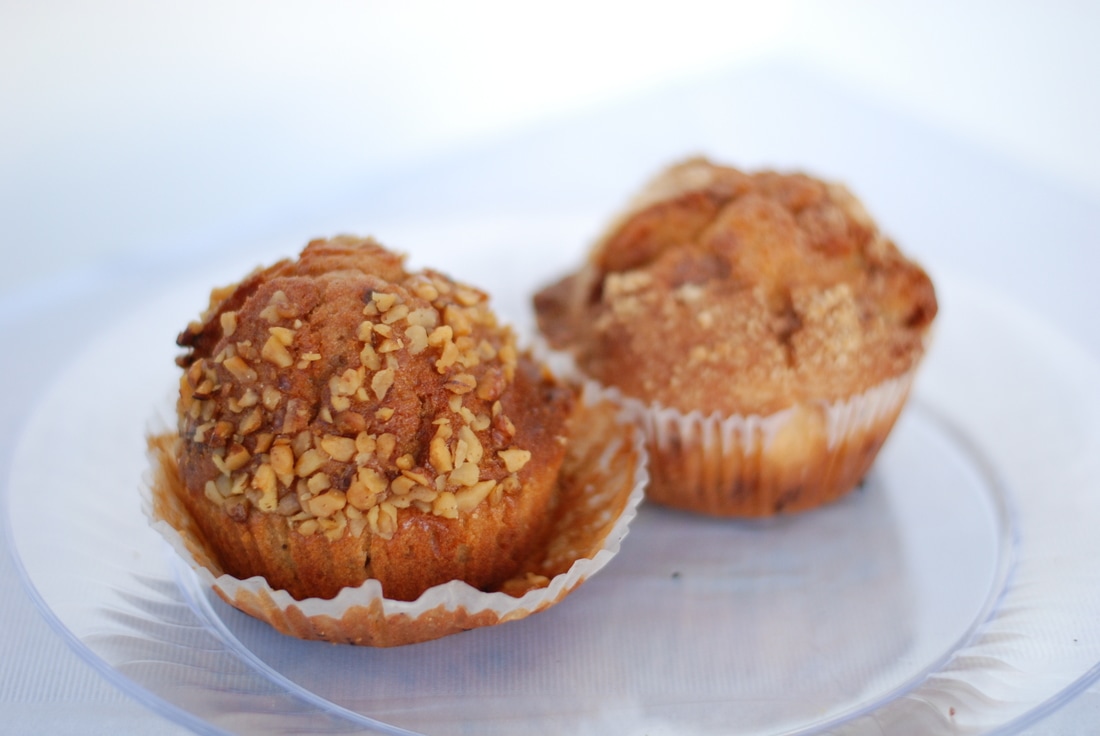 ISO: 400, Shutter Speed: f/1.8, Aperture: 1/1,000 I brought in muffins to take photos of. There isn't specifically anything special about the muffins I brought in, but I think the plain white background looks very nice against the muffins. Five things I learned from the video we watched are:
1. Still life is a work of art depicting mostly inanimate subject matter, typically common objects 2. Food stylists are used to help manipulate the food and make it easier for the photographer to take the photo 3. Food photography is one of the fastest growing areas of focus in today’s photography world 4. A quality still life photo takes careful planning, the background must be thought out and taking photos in different positions will help you get all the angles 5. Food stylists make certain foods out of different materials to allow the food to not get messed up so they can shoot for longer, for example they can use glue to look like milk I made my photos look similar to the professional photos by taking the photos in all the same angles the professional pictures were taken and focusing on little details to make sure the photos turned out similar. Three things I learned from this food photography project are: 1. Make sure you have a clean/nice background, because it can affect the entire picture. 2. Try taking the photos in different angles and position the food differently so you get a unique shot. 3. Make sure the lighting isn't too dark, too light, or have shadows or else the photo will not be good enough; good lighting is key. Some careers/businesses that use food photography are the food network, people who post recipes on a blog, Pinterest, magazines, etc. I think I was successful in making the food look appealing and pleasing to the eye. I would do food photography again, because I love food and taking pictures of your food when it looks nice is fun to do. 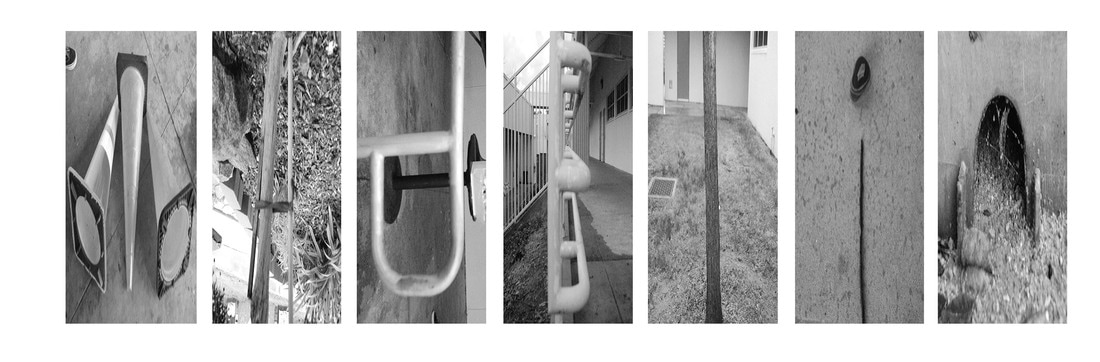 I created this image by first going around campus trying to find different letter. After that, I put the photos on photoshop to crop and change them to black and white. Next I got the 7 letter template and fit all the photos onto it. After that I saved the finished image as a psd and jpg. One step I struggled with was figuring out how to get all the letters in a line, but the i realized there was a template. I was proud of understanding the steps well enough to be able to help other people. My favorite part about my artwork is the variety of the photos and how different all of them are. I think I could've improved my work by cropping out the space around the letters more and changing the black and white on some of the photos.
 ISO: 640, Aperture: f/2.8, Shutter Speed: 1/350 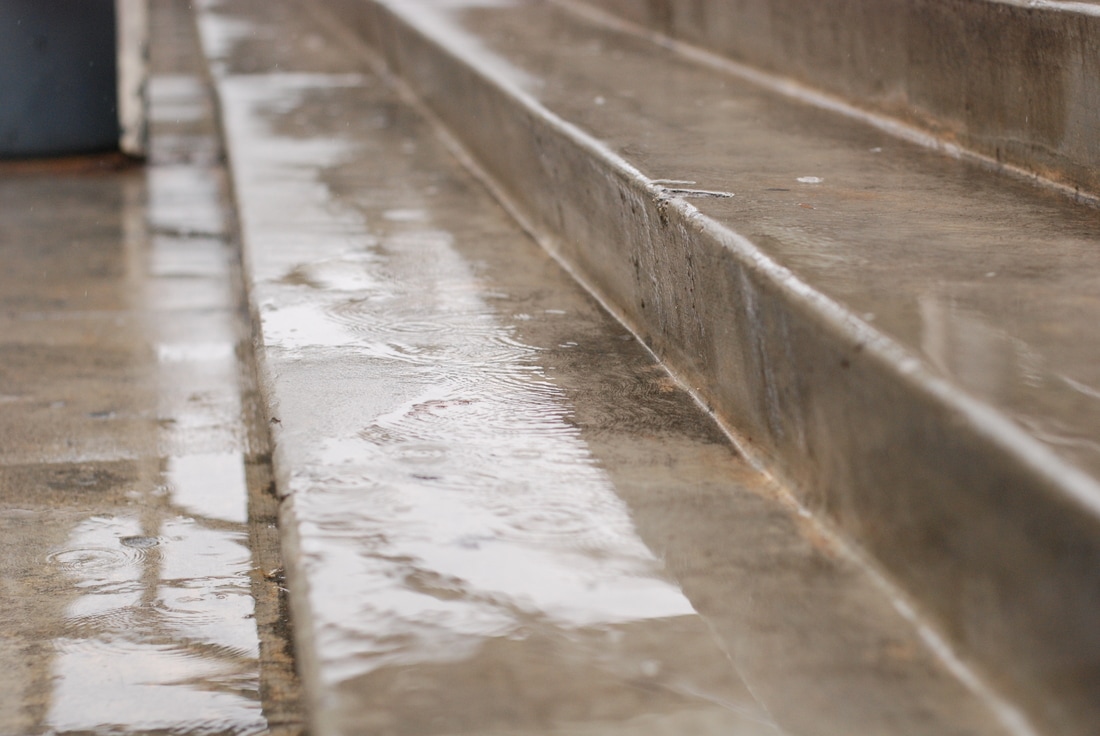 ISO: 640, Aperture: f/2.8, Shutter Speed: 1/1,000 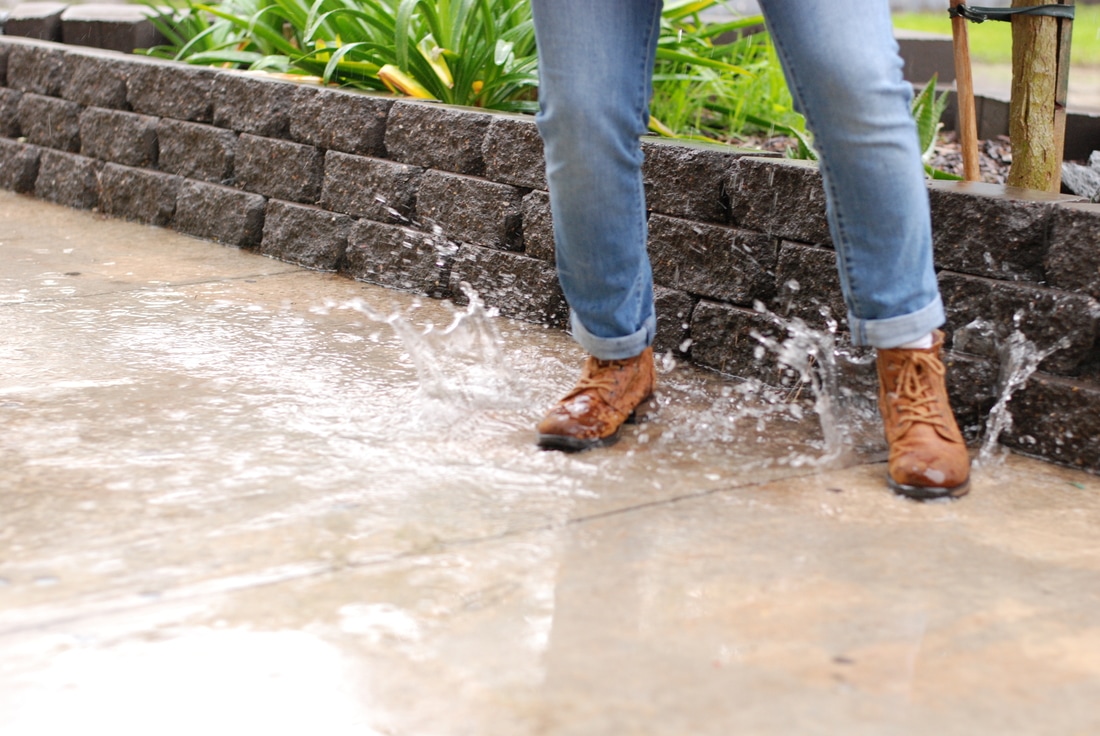 ISO: 640, Aperture: f/2.8, Shutter Speed: 1/180 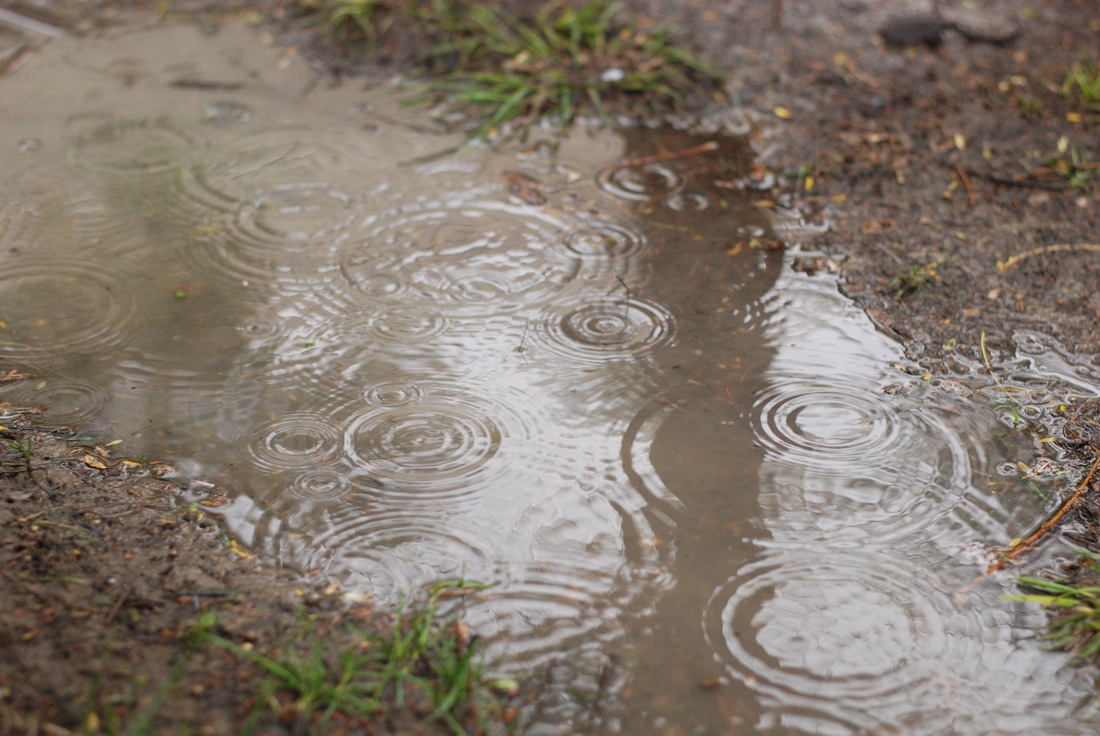 ISO: 640, Aperture: f/2.8. Shutter Speed: 1/250 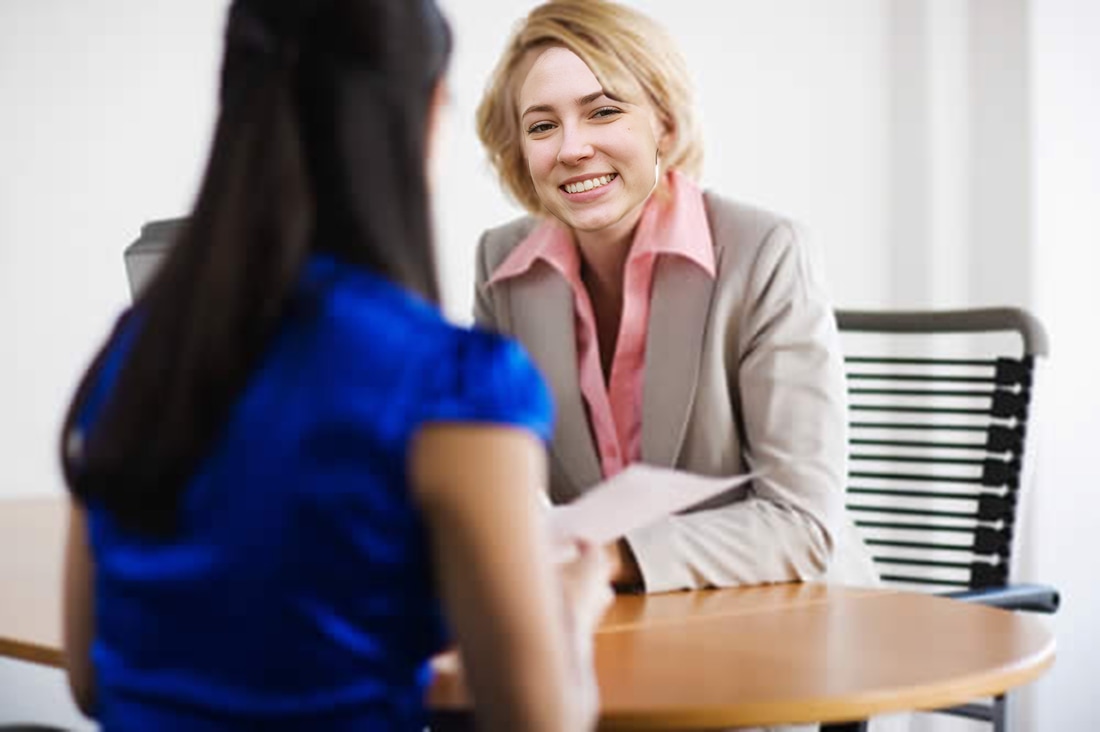 I have chosen the career of a counselor. I am currently trying to decide whether I want to pursue the career of a school counselor or a mental health counselor. My ideal day would start by waking up in my apartment in San Diego. I would go into the kitchen and make myself breakfast and enjoy the peacefulness of the morning. After that I'd get ready and start my day. I will head to my job and spend my day helping people. Helping people with their problems or anything they may be dealing with is something that I feel ver accomplished doing which is why I would love to be a counselor. 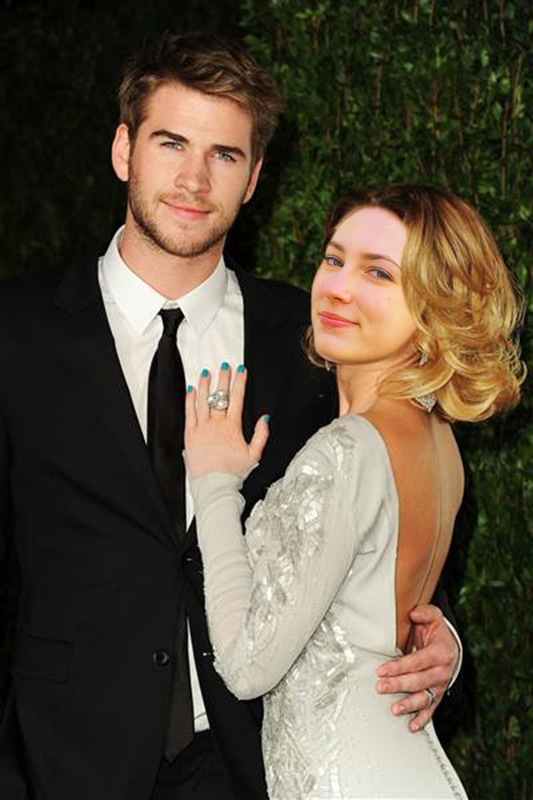 I chose to crop my face onto Miley Cyrus's face. When I was younger I used to be absolutely obsessed with Miley Cyrus and Hannah Montana which is why I decide to crop my face onto hers. I did this by first finding a photo with a large file so it wouldn't be blurry. Next, I put both the photo of Miley and the photo of myself on photoshop and changed the image size. After that, I dragged the photo of my face over to the other picture, lassoed around my face, and moved my face onto the other photo. Next, I changed the opacity of my face and began trying to match up my face to Miley's. Once I was satisfied with how it looked, I added another mask and used the brush tool to remove parts from the photo of me to match up with her. After that, I tried matching the skin tone and close as possible and then merged and saved my work.
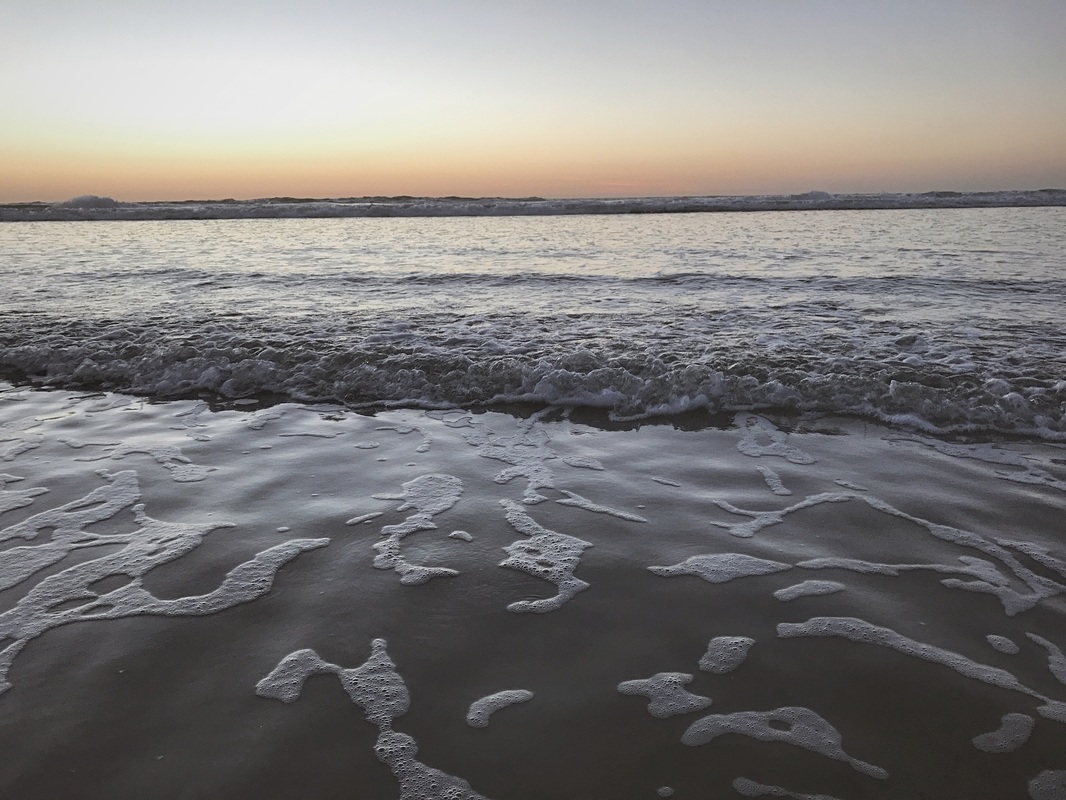
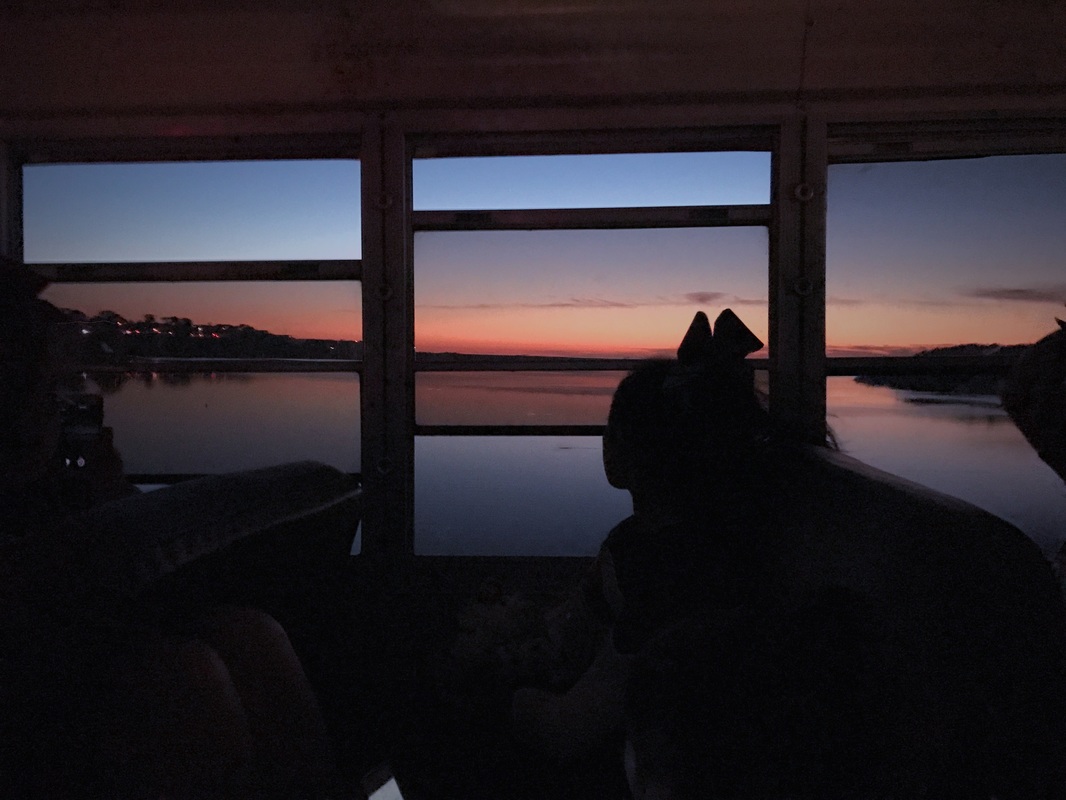
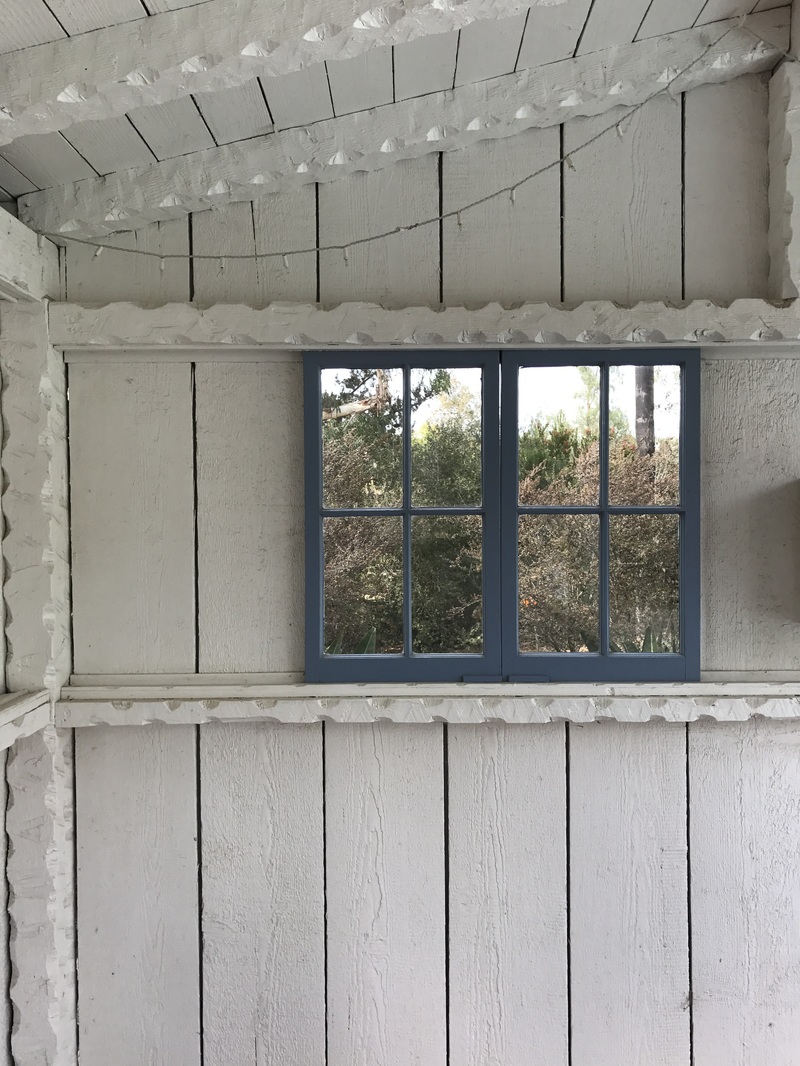
Framing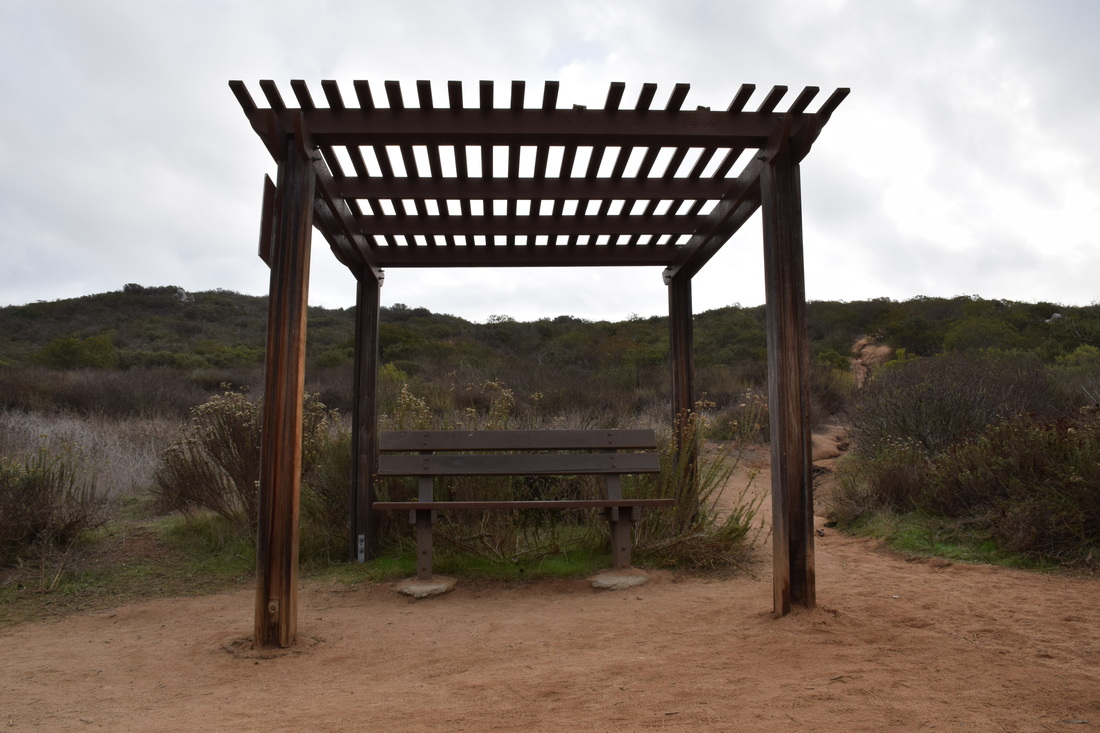 ISO: 200, Shutter Speed: 1/90, Aperture: f/16 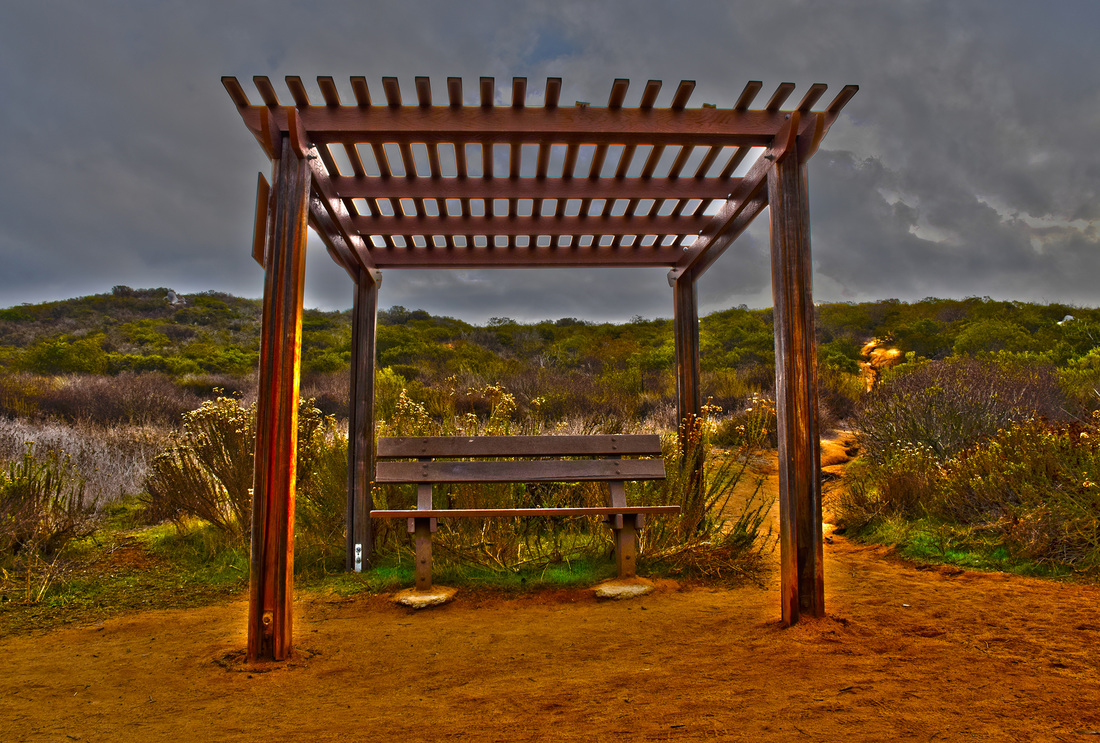 ISO: 200, Shutter Speed: 1/90, Aperture: f/16 Balance ISO: 200, Shutter Speed: 1/125, Aperture: f/22 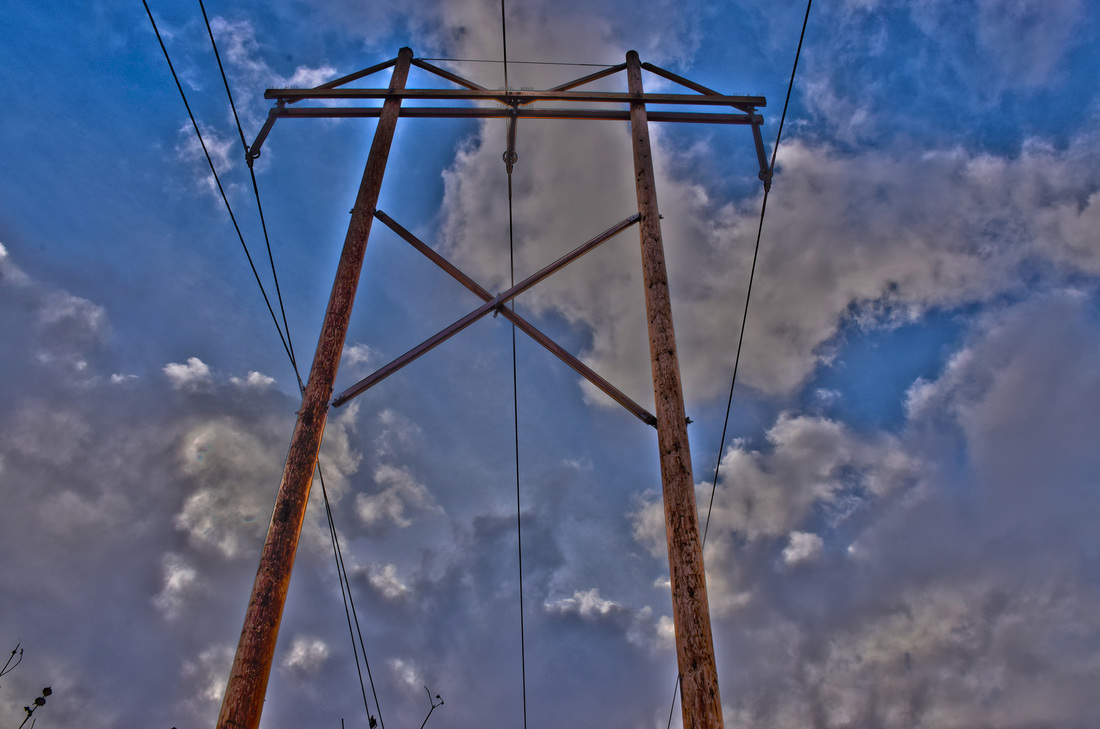 ISO: 200, Shutter Speed: 1/125, Aperture: f/22 Line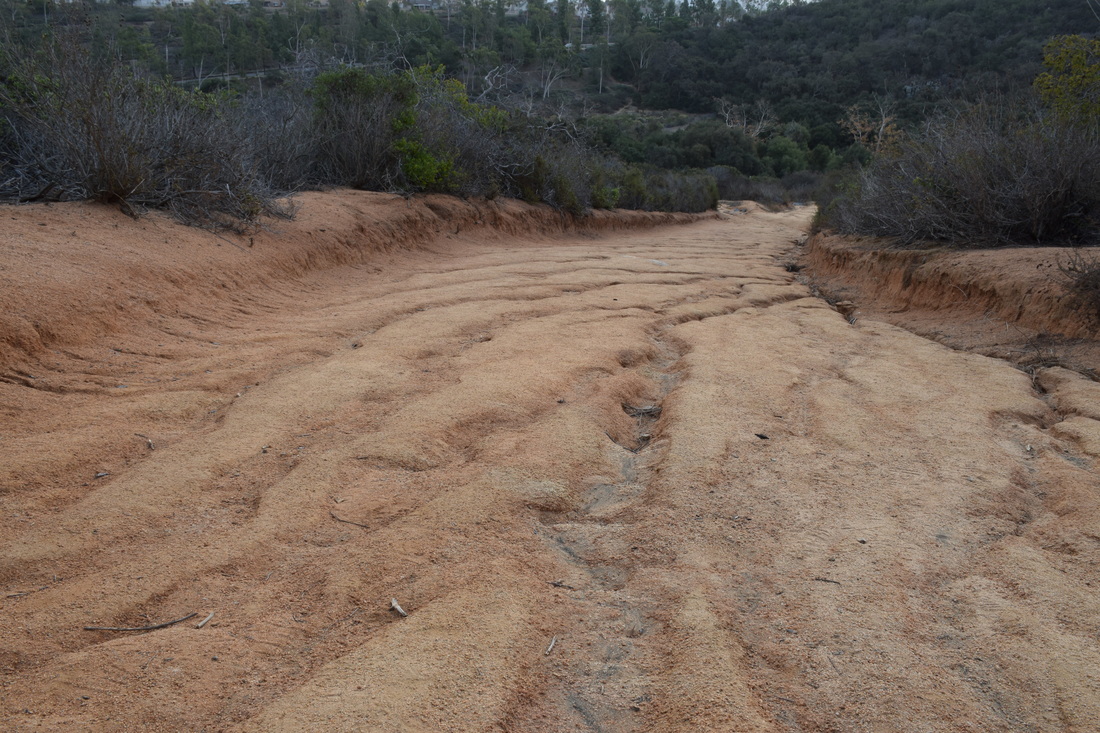 ISO: 200, Shutter Speed: 1/45, Aperture: f/16 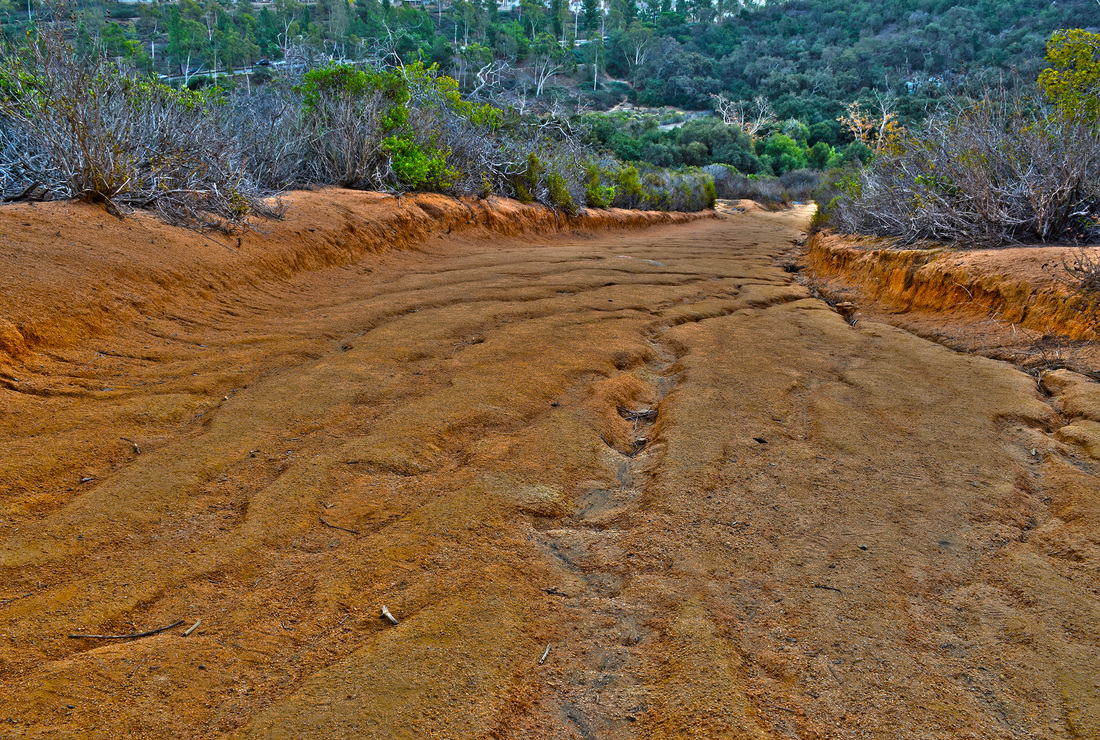 ISO: 200, Shutter Speed: 1/45, Aperture: f/16 Crop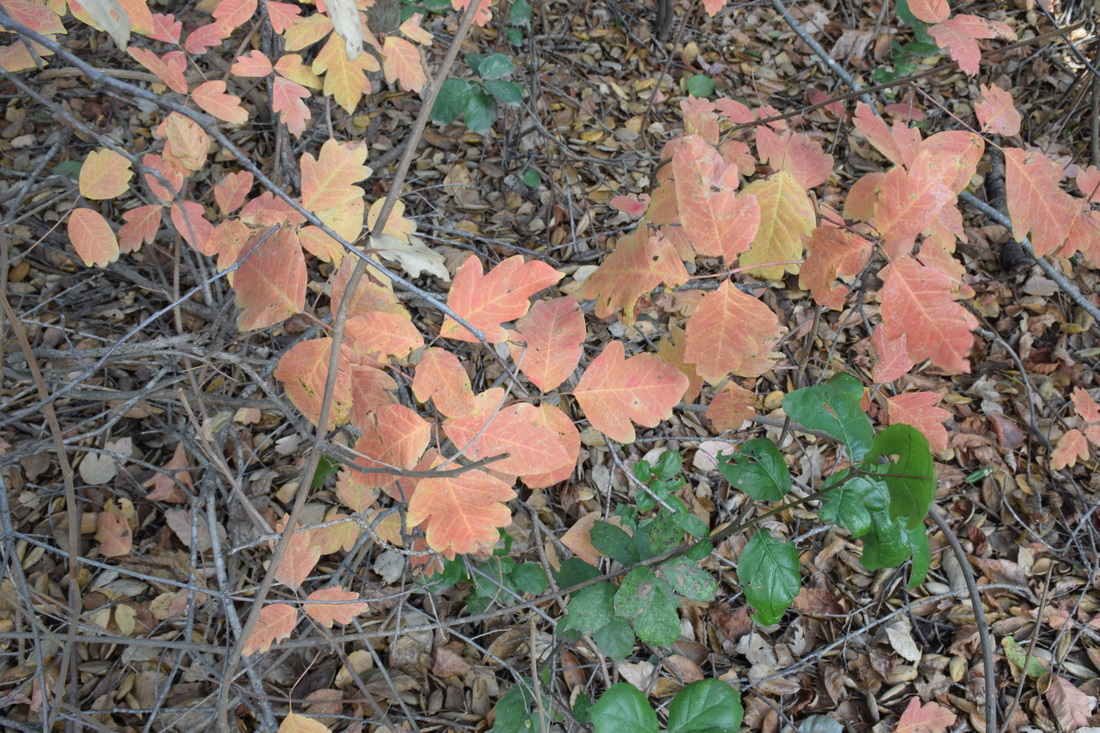 ISO: 200, Shutter Speed: 1/3, Aperture: f/16 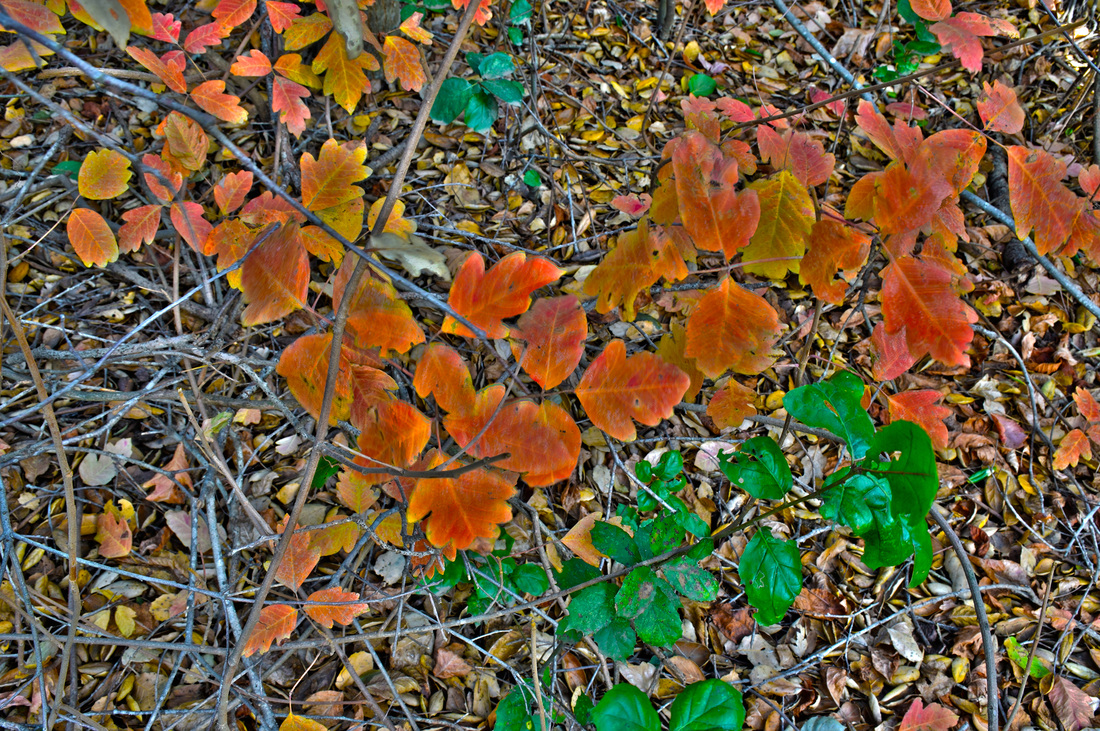 ISO: 200, Shutter Speed: 1/3, Aperture: f/16 Rule of Thirds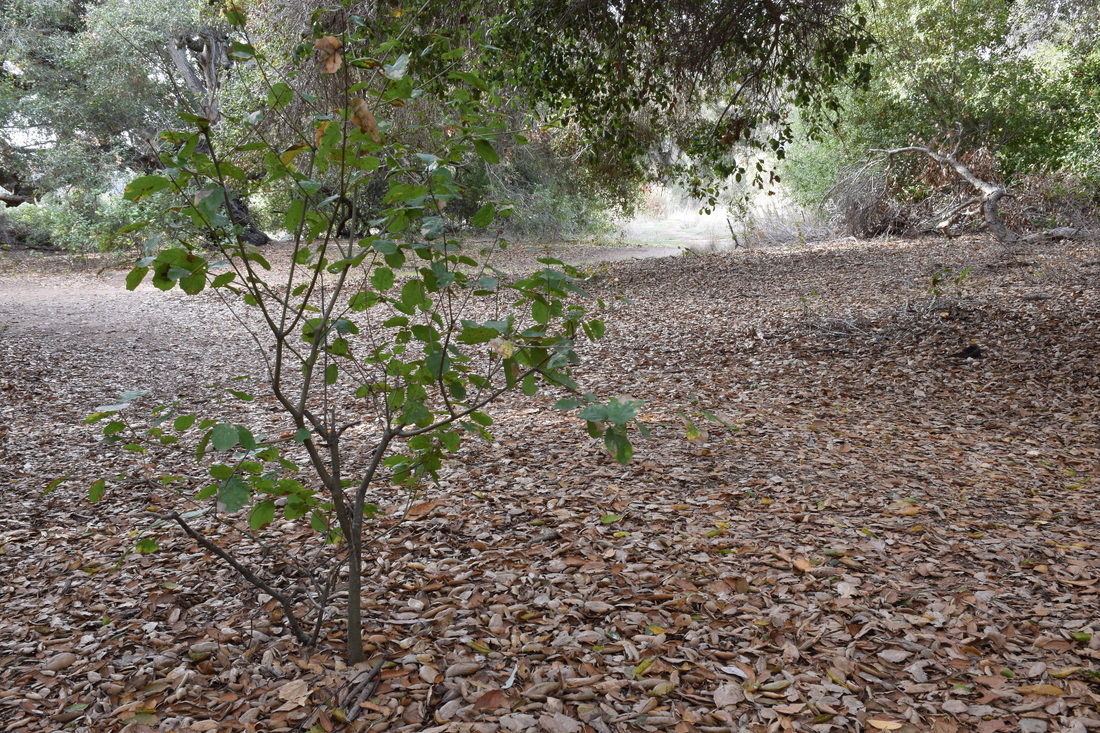 ISO: 200, Shutter Speed: 1/6, Aperture: f/16 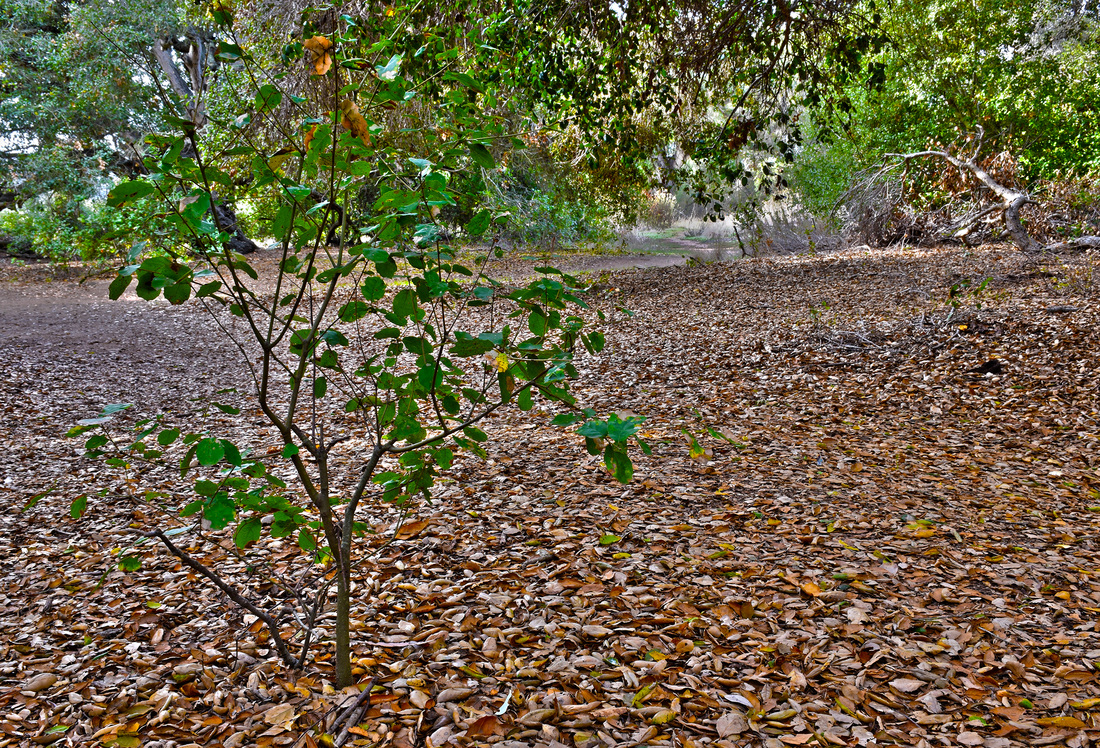 ISO: 200, Shutter Speed: 1/6, Aperture: f/16 I created these HDR (high dynamic range) photographs at the duck pond. I took these pictures using a tripod to get a steady shot. Once the photos were taken using the 5 different exposures, we uploaded and merged them on our computers using photoshop. After they were merged, we staurated and removed the "ghosts" in the image to complete the photo.
To photograph the moon:
1. Use a tripod! A flat surface will only allow you to shoot straight, and shooting the moon means that you'll be shooting up and constantly re-adjusting the tripod as the moon moves throughout the night. 2. Use a shutter release cord, remote or the camera's self timer if you don't have one, so that you don't move the camera when pressing the shutter release during a long exposure. 3. Use a zoom lens and zoom in as much as you can to the moon. It's okay if it's not a super fancy lens, this was shot using a 15 year old $100 lens. Focus in on the craters and details on the moon. 4. ISO 1250- 1600, so that you can use as fast a shutter speed as you can without losing detail-the longer the shutter speed, the more chances you have the camera will shake even slightly in the wind, resulting in an out of focus photograph. 5. Aperture priority of f/5.6 since you are not worried about capturing any details other then the moon. 6. Bracket your exposure, meaning over expose and underexpose the photograph from what the camera is telling you. Generally the camera will overexpose the moon, so you'll get nothing but a white blob in the sky. Use the exposure compensation button (the +/- button below the shutter release) and change the exposure to -0.5, then -1.0, then -1.5 and so on, until you start seeing detail in the moon. You may go as far as -5.0 exposure compensation to get what you need. 7. Take a fair amount of photos and keep refocusing as the night progresses. The photographs may look focused on the camera's display, but you won't really see if they're completely in focus until you upload them onto your computer screen. |
AuthorMy name is Madelin Burdick and I am and currently in my senior year of high school. Some things I really enjoy are cheerleading, going to the beach, and adventuring around with my friends. Archives
May 2017
Categories |
 RSS Feed
